Inspection Process

Quality is a priority at Precision Bending. To support out commitment to quality, we have implemented a unique inspection process. Traditionally, CMM’s were used to locate and project the centerlines of the straight sections of the tube and then calculate the imaginary intersection points of the centerlines. However, this method is not always reliable, which is why in 2007 we became one of the first tube bending shops to implement the Photogrammetric inspection process.
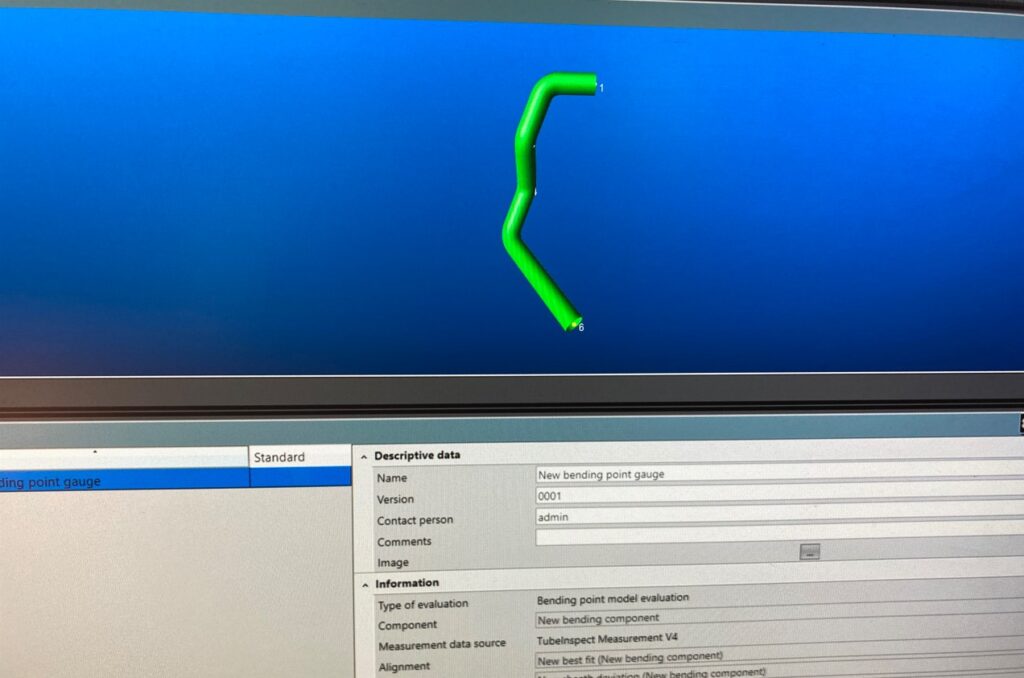
The Photogrammetric inspection examines the entire profile of the tube, including the bends. Software allows us to not only “fit” the straight sections to the bends be can even allow for distortions in the straight sections between bends to determine the true profile of the tube.
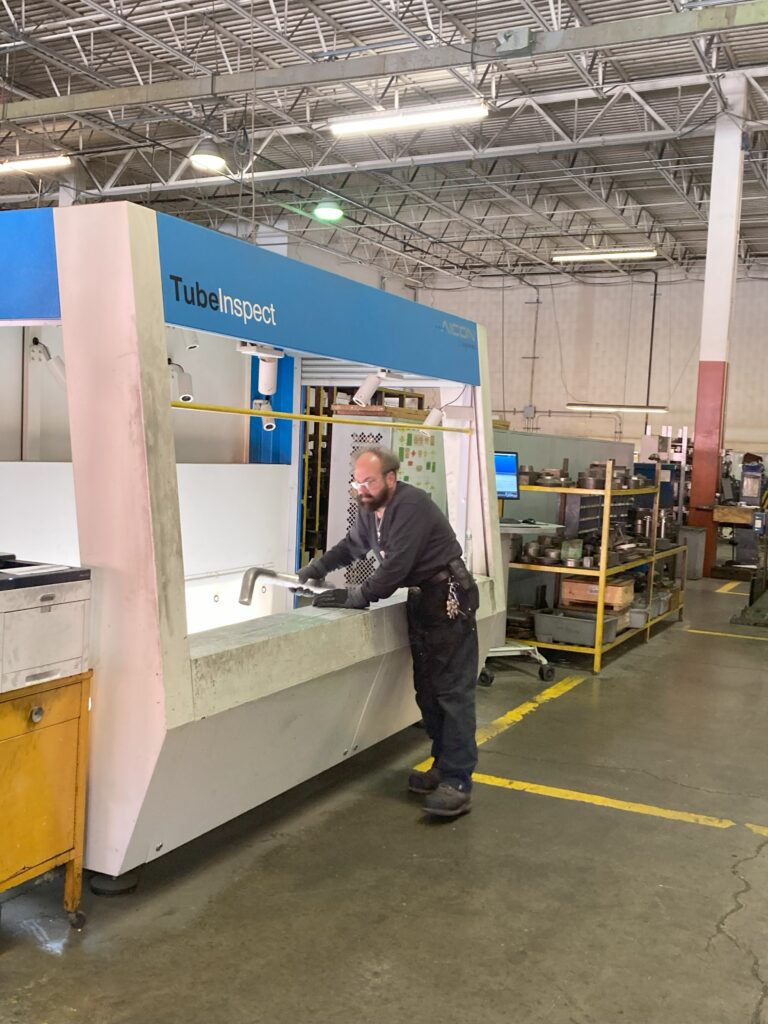
This machine has helped our machine operators improve their work and boost our overall quality. Machine operators no longer have to take their tubes over to an inspector, but can do the inspection on their own. This allows the operator to see mistakes and improve their process and become more educated about what makes a quality tube to improve their own work.
The use of Photogrammetric inspection engages our operators in the quality control process resulting in the best finished bends we can provide to our customers.

Are Your Ready to Start a Project?
Contact our team to find out more about our capabilities.
Contact Us
General Contact Form
